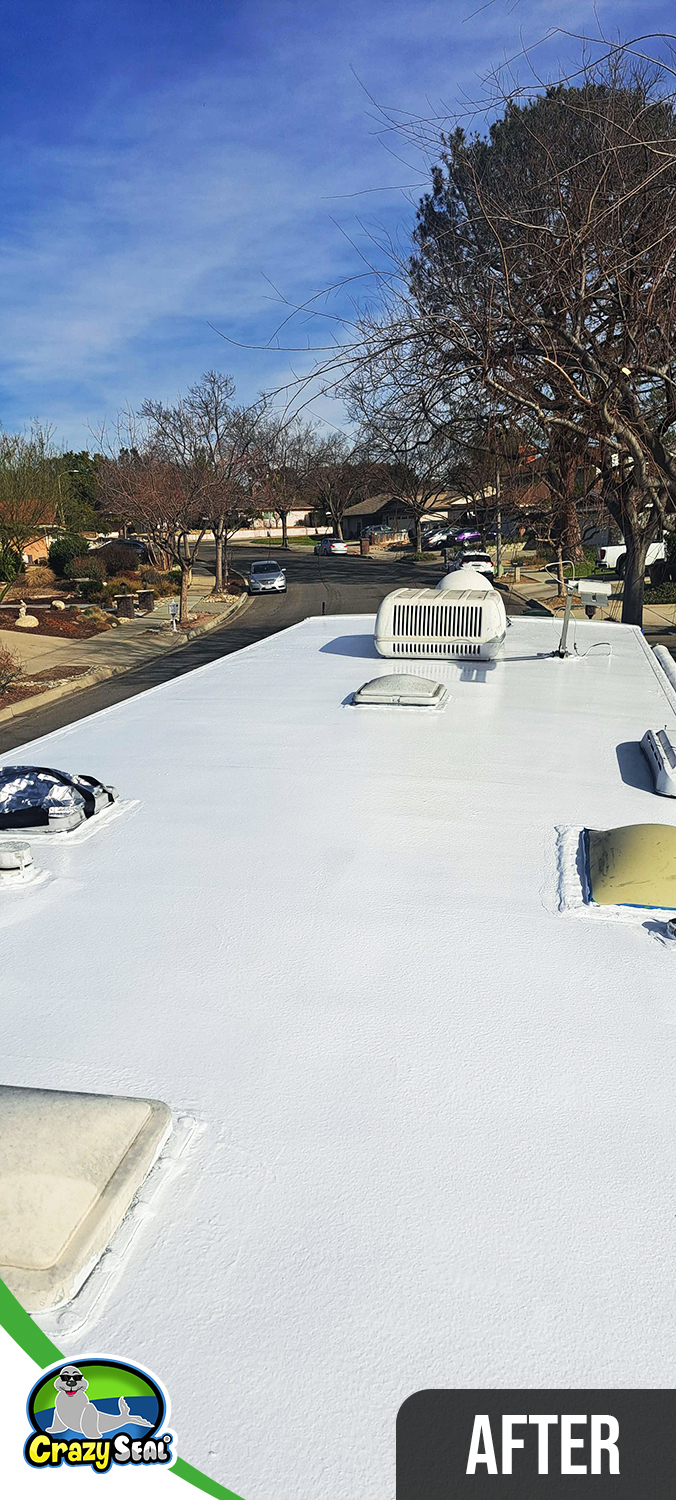
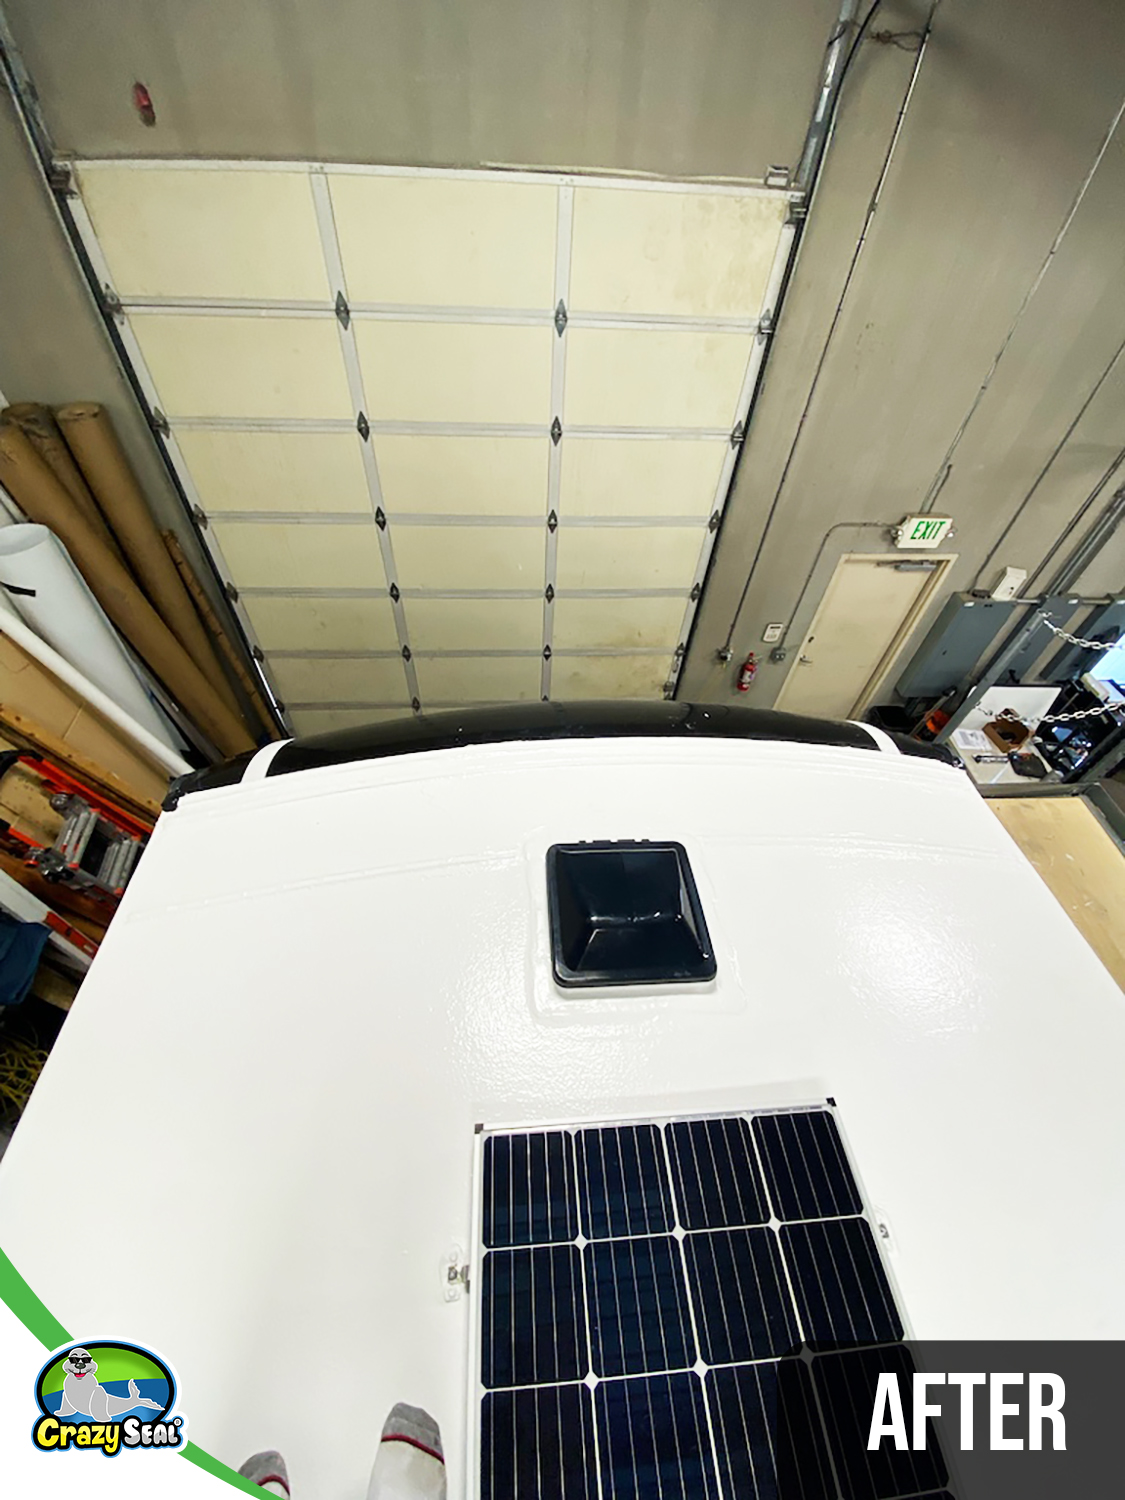
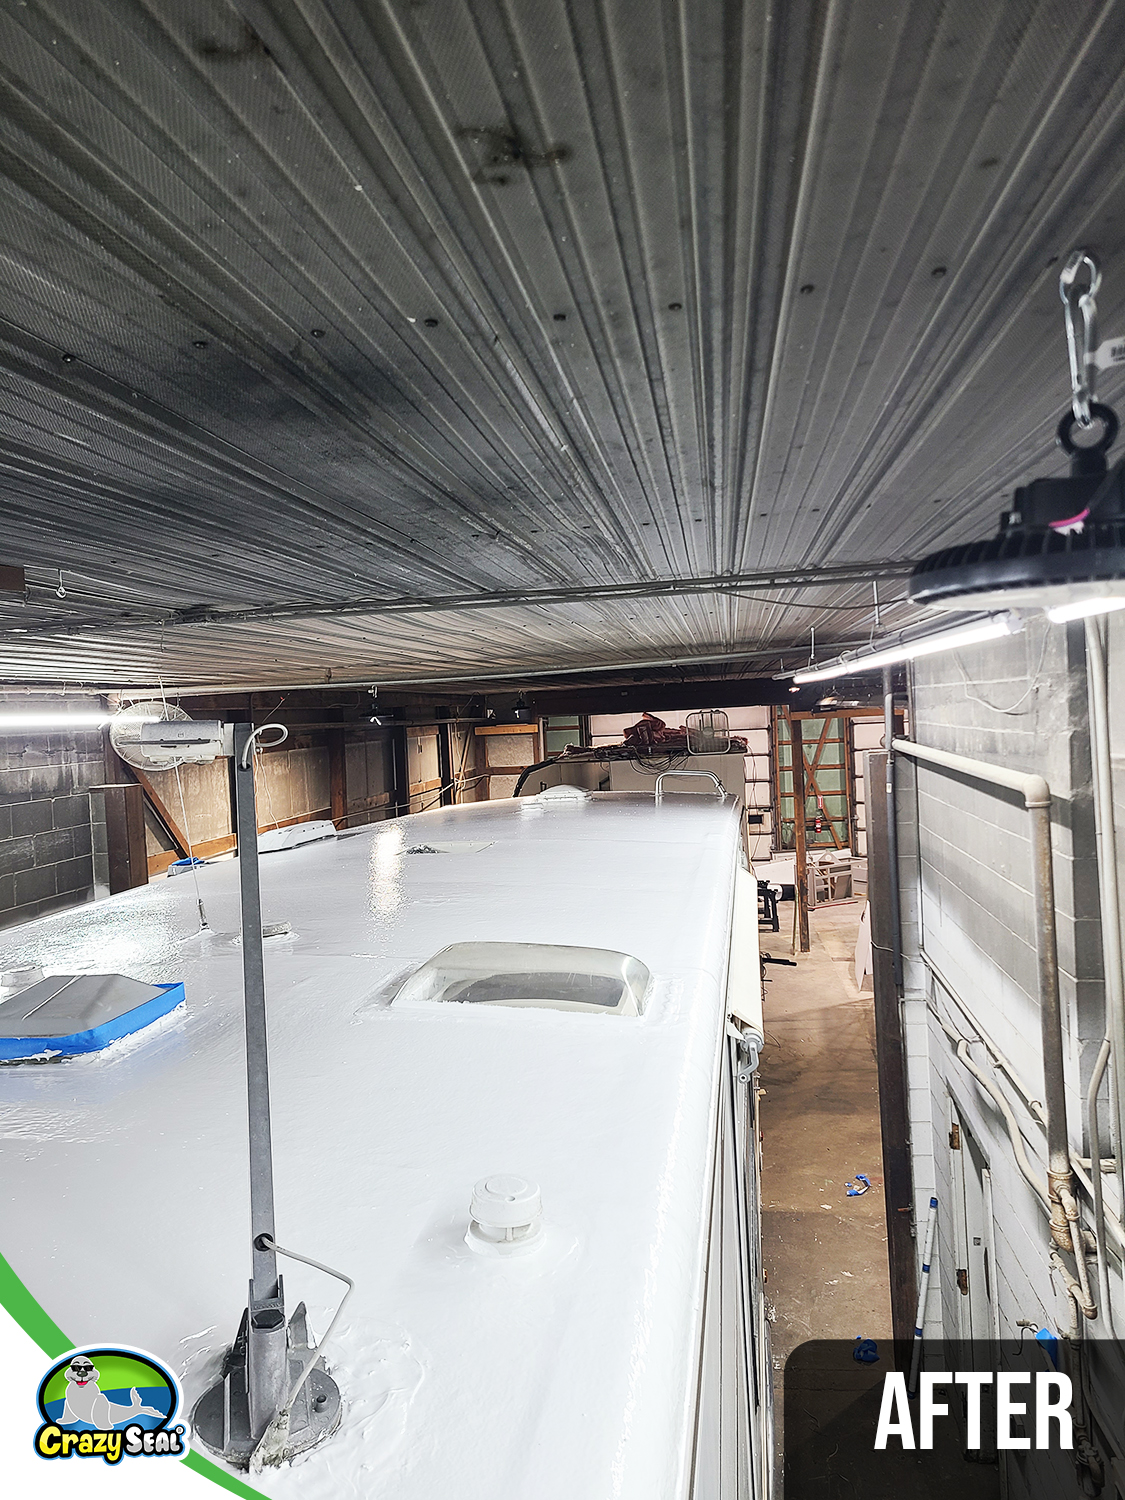
Click on images to scroll through progress photos.
Chuck took on his RV roof project with the full Crazy Seal system and quickly saw how straightforward the process could be. The coating went on smoothly, coverage matched expectations, and the finished surface had the kind of flexible durability Crazy Seal is known for.
With a fully sealed membrane in place, Chuck’s RV roof now stands up to weather, vibration, and UV with confidence.
Chuck also offered a helpful suggestion based on his experience with the caulking step.
His feedback reflects the spirit of every DIY installer—adapt, adjust, and finish strong. With his own method dialed in, Chuck completed a watertight install that checks every box.
Whether you’re a contractor or an RV owner, Crazy Seal makes it easy to achieve results that last. Ready to eliminate seams, stop leaks, and seal your rig for the road ahead?
“The instructions said apply caulking to a small section, put the caulking gun down and apply Crazy Seal before the caulking dries. The Crazy Seal material would never stop flowing out of the tube, even when I removed the pressure. So I had to caulk both sides, then apply Crazy Seal. This worked much better.”
Choose a roofing kit below to get started, or talk to a Crazy Seal specialist about your application.
Get Started Today
Talk to a Crazy Seal specialist and we'll build the perfect kit for your roof together — then ship it straight to your door.
Prefer to do it yourself? Build your kit or shop the catalog.